
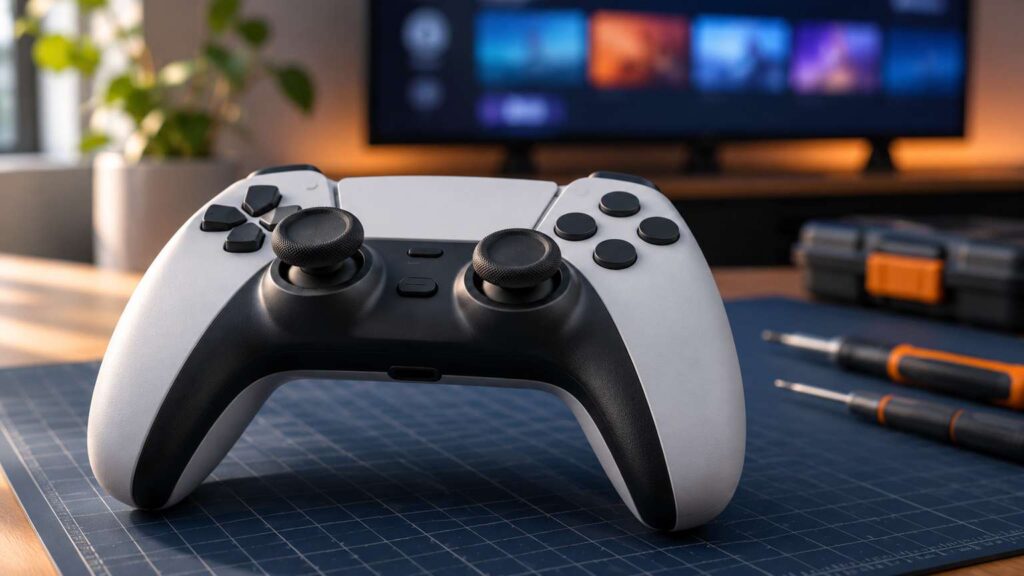
PS5 controller drift means a stick sends input while you are not touching it. Test before you fix anything: if the pad drifts on the home screen and a second pad does not, the stick is the suspect, so reset it once, update it once, and then go to PlayStation Repairs.
Drift that shows up in only one game is a different case, and the fix sits in that game’s settings. The sections below sort the two apart first, because the cures have nothing in common.
PS5 controller drift: run the 30-second split before you touch anything
Set the pad down untouched and watch the PS5 home screen. If the cursor creeps toward one side, the pad is sending input. A GAMINGbible writer used the same check after a character in Ghost of Yotei wandered off on its own, and the home screen scrolled to the far left tile without a touch.
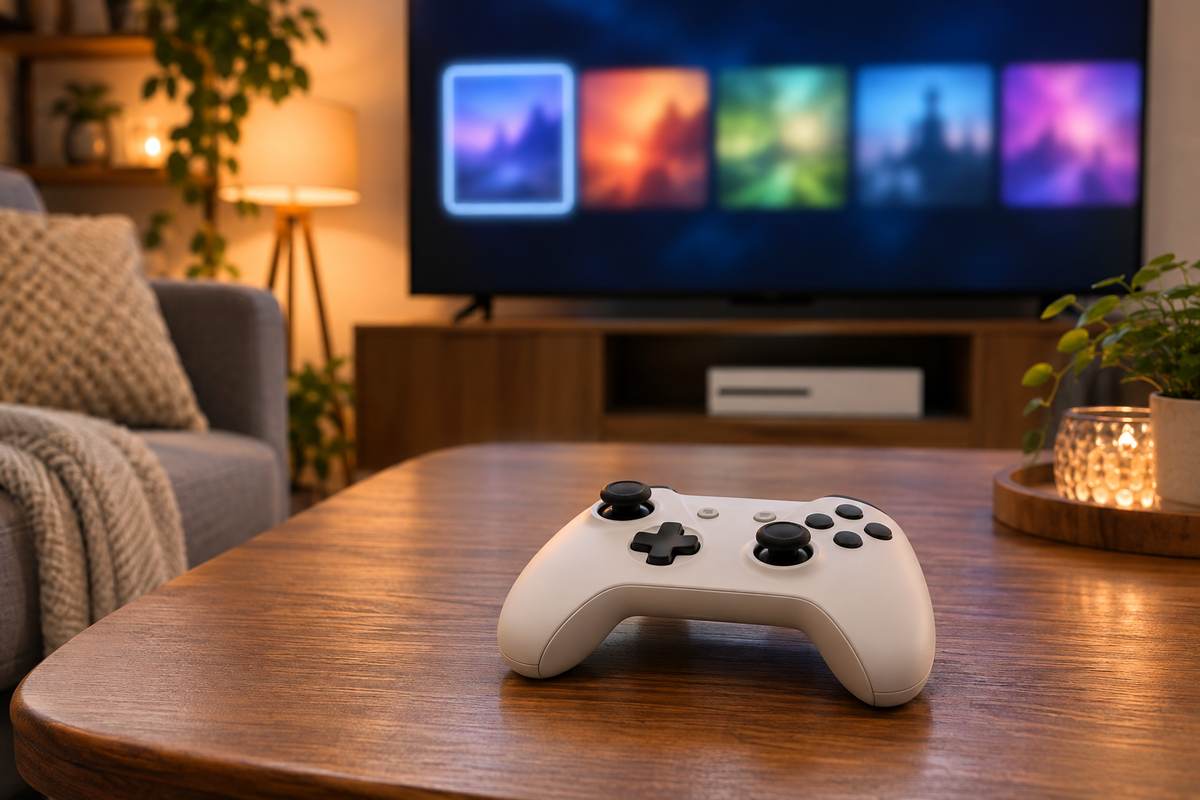
Then swap in a second controller. When a gaming PC I’ve built throws odd input, a known-good part goes in before the suspect one takes the blame, and a second pad is that same swap. A drift that stays with the first pad points at its stick.
One r/PS5 commenter owned four pads and only one drifted, which ruled out interference in their case. The most upvoted comment on that thread adds two tests for telling interference from a bad stick.
“Easiest way to test it out if its interference or stick drift, go to setting and select Communication Method to use USB Cable. Even better if you have a pc you can just use any of the gamepad testing websites.”
– r/PS5, February 2026 (120 upvotes)
A PC tester shows exactly what the pad reports, and iFixit also recommends one as a check after a repair. Plug the pad into a computer by USB and open any browser-based gamepad tester.
A stick that reads off-center with no touch is the answer.
One later reply in that thread shows the other outcome: two pads drifted at the same time on the console, both still drifted over USB and Bluetooth, and both were fine on a PC, a pattern that points away from the sticks and toward the console side.
| What you see | What it points to | Next move |
|---|---|---|
| Home screen drifts and a second pad is fine | The stick or board in the first pad | Reset once, update once, then PlayStation Repairs |
| Home screen is still, but one game drifts | That game’s input settings | Widen the dead zone in the game |
| Pad drifts on a PC tester too | The pad itself | Same as the first row |
| Both pads drift on the console, a PC tester is clean | Something between pad and console | Test over a USB cable, then ask PlayStation Repairs about the console |
| Pad was dropped or got wet | Hardware damage | Skip the tries and go to PlayStation Repairs |
Settings and software: three things worth one try
A dead zone is the area around the stick’s center where input is ignored. iFixit says a larger one can offset minor drift by ignoring readings that would otherwise register. That makes it a mask for mild drift and never a repair.
Most games keep this setting in their own controller menu, and the effect differs from game to game, so a value that tames one title can be too small or far too large in the next. A commenter on r/playstation5 put the catch plainly.
“Adjust the dead zones. It was doing this for me in BF6 and in the settings I had to go in and drastically widen the dead zones. Much better now. But be careful, its different for different games”
– r/playstation5, September 2026 (4 upvotes)
In the same thread, a poster whose camera spun at full speed was told that dead zones would not help. A dead zone hides small drift and cannot hide a stick that pins itself to one side, which is why the table above sends a pad that drifts on the home screen to a repair instead of to a settings menu.
The DualSense Edge has the setting built into the console. Open Settings, then Accessories, then DualSense Edge Wireless Controller, then Custom Profiles, and choose Create Custom Profile. Pick Stick Sensitivity/Deadzone and adjust the sticks there. If a game still behaves oddly, check its in-game controller settings too, because they can clash with a profile.
The other two tries are short. With the console off and the pad unplugged, press the reset button inside the small hole on the back with a pin for at least 5 seconds, then reconnect by USB cable. Next, run Settings, Accessories, Controller (General), DualSense Wireless Controller Device Software. The full walk-through lives in the PS5 controller not connecting guide, and the reset steps are on the DualSense troubleshooting page.
Why a worn stick stays worn
Inside each stick, small conductive wipers slide over a resistive pad, and the position of the wipers sets a voltage the console reads as direction. With use that resistive material wears away, so the voltages stop matching the stick’s real position, as iFixit’s DualSense drift guide explains.
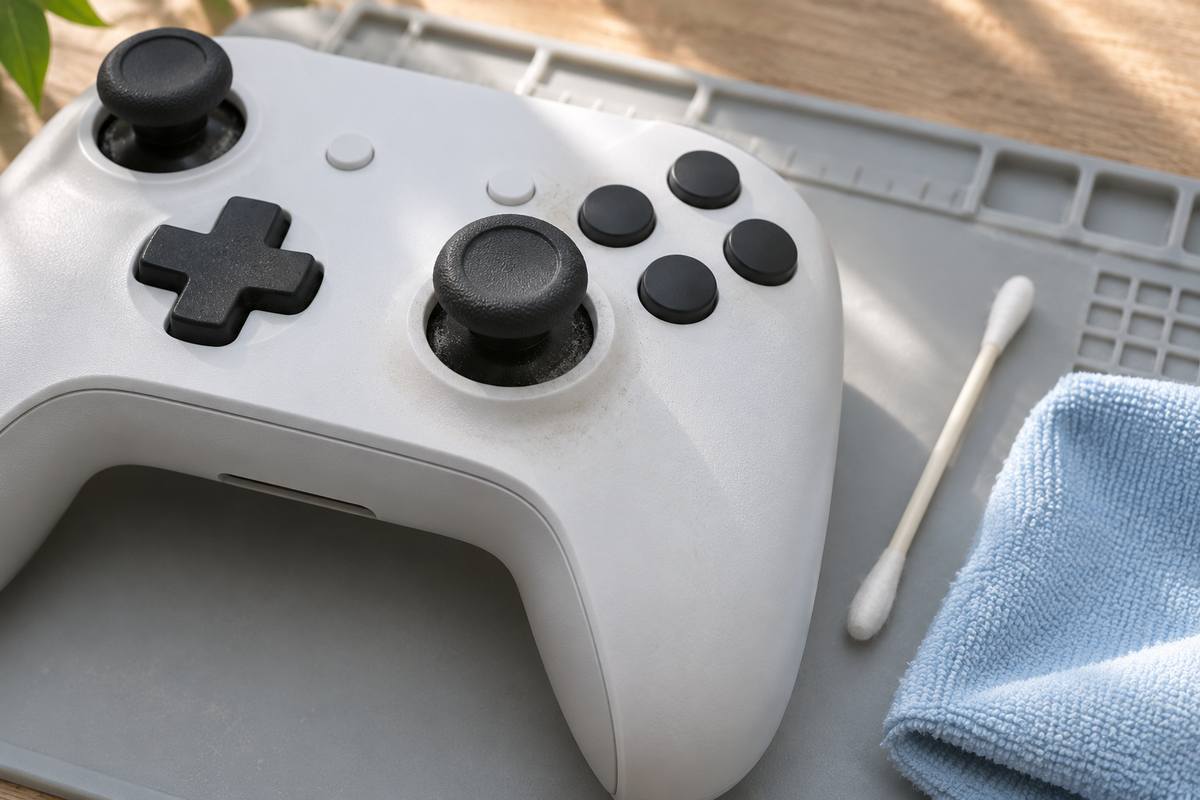
The conclusion is blunt: only replacing the sticks solves wear. Cleaning can help when debris keeps a stick from returning to center, but it may be only temporary. The low-risk cleaning is on the outside: a damp cloth on the pad, then a cotton swab with 90% isopropyl alcohol around the dome of the thumb stick, with nothing opened. Circuit-board faults are mostly tied to liquid spills, which is one reason a wet pad goes straight to a repair request.
Where self-fixing ends and PlayStation Repairs starts
Self-fixing ends when the home screen test still fails after one reset and one update, because from that point the next stop is PlayStation Repairs. Any one of these three is enough to stop:
- The pad drifts on the home screen after one reset and one update.
- A PC tester shows the stick off-center with no touch.
- The pad was dropped or got wet.
On the DualSense troubleshooting page, the “Button or analog stick issue” entry leads to PlayStation Repairs. The Edge profile page says the same for a pad that still misbehaves after a reset. No price appears on either page, so none appears here. If the pad also will not hold a charge, the PS5 controller not charging guide covers that side.
Have the receipt ready. The console warranty page says service needs proof of purchase showing the original purchase date, and it names playstation.com/repairs as the place to request a return authorization. Ask Repairs what applies to a controller that was bought on its own.
That page also excludes damage caused by opening the product or acting inside it, unless the person works for Sony or an authorized provider. Treat opening the pad as a last resort for that reason alone.
DualSense Edge owners: swap the stick module
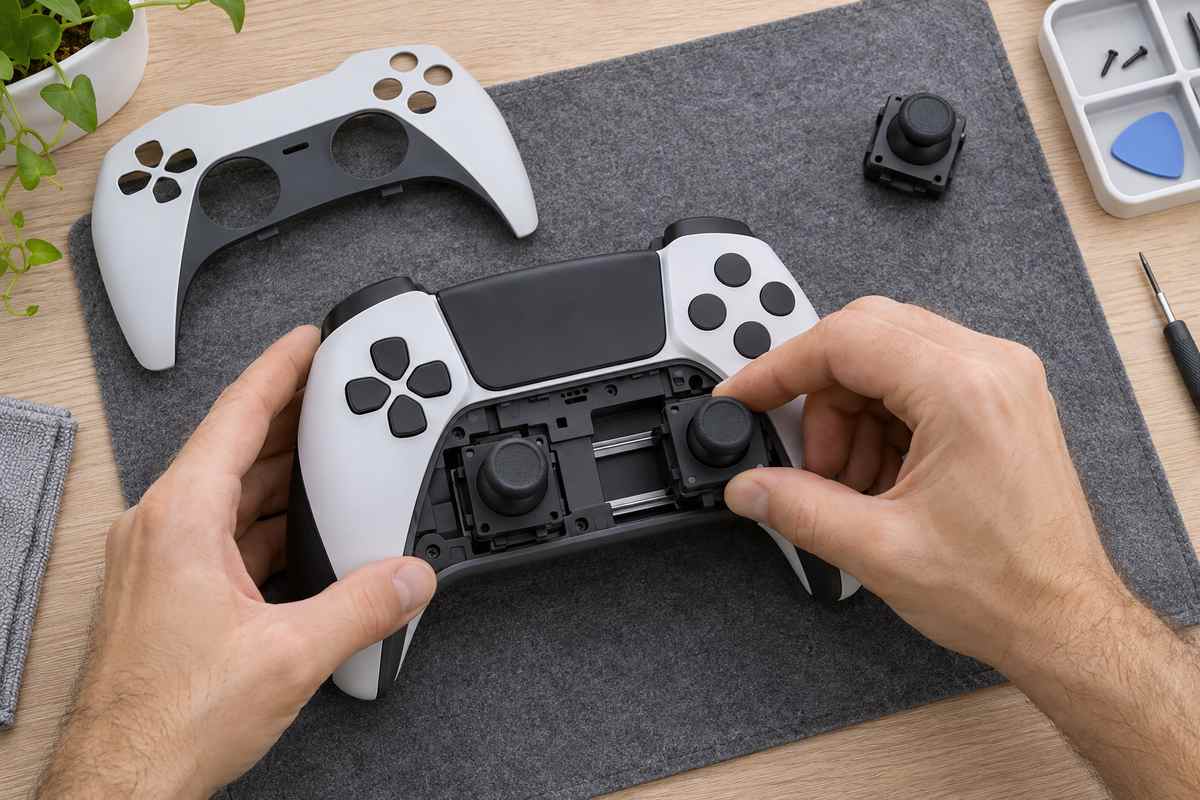
The Edge is the pad where Sony documents a part you can swap yourself. A stick module that stops working can be swapped for a new one, sold separately, and the left and right modules are interchangeable. The swap also works as a test, because a fresh module either stops the drift or rules the stick out.
- Make sure the player indicator is off. If it is lit, hold the PS button until it turns off, then unplug the USB cable.
- Slide the RELEASE latch on the back and remove the front cover.
- Raise the release lever, pull the module out and slide the new one in along the grooves until it clicks.
- Lower the lever and press the cover back on until it clicks.
The steps are on the stick module page. If drift stays after a fresh module, the stick was not the cause and Repairs is next.
Calibration tools and opening a standard DualSense
Browser tools claim to recalibrate the stick through a USB connection. One of them says it rewrites calibration data stored in the controller, and its own FAQ warns that Sony may treat that as an unauthorized modification. GAMINGbible’s writer tried a different tool and saw “a very, very minor improvement” while the drift remained.
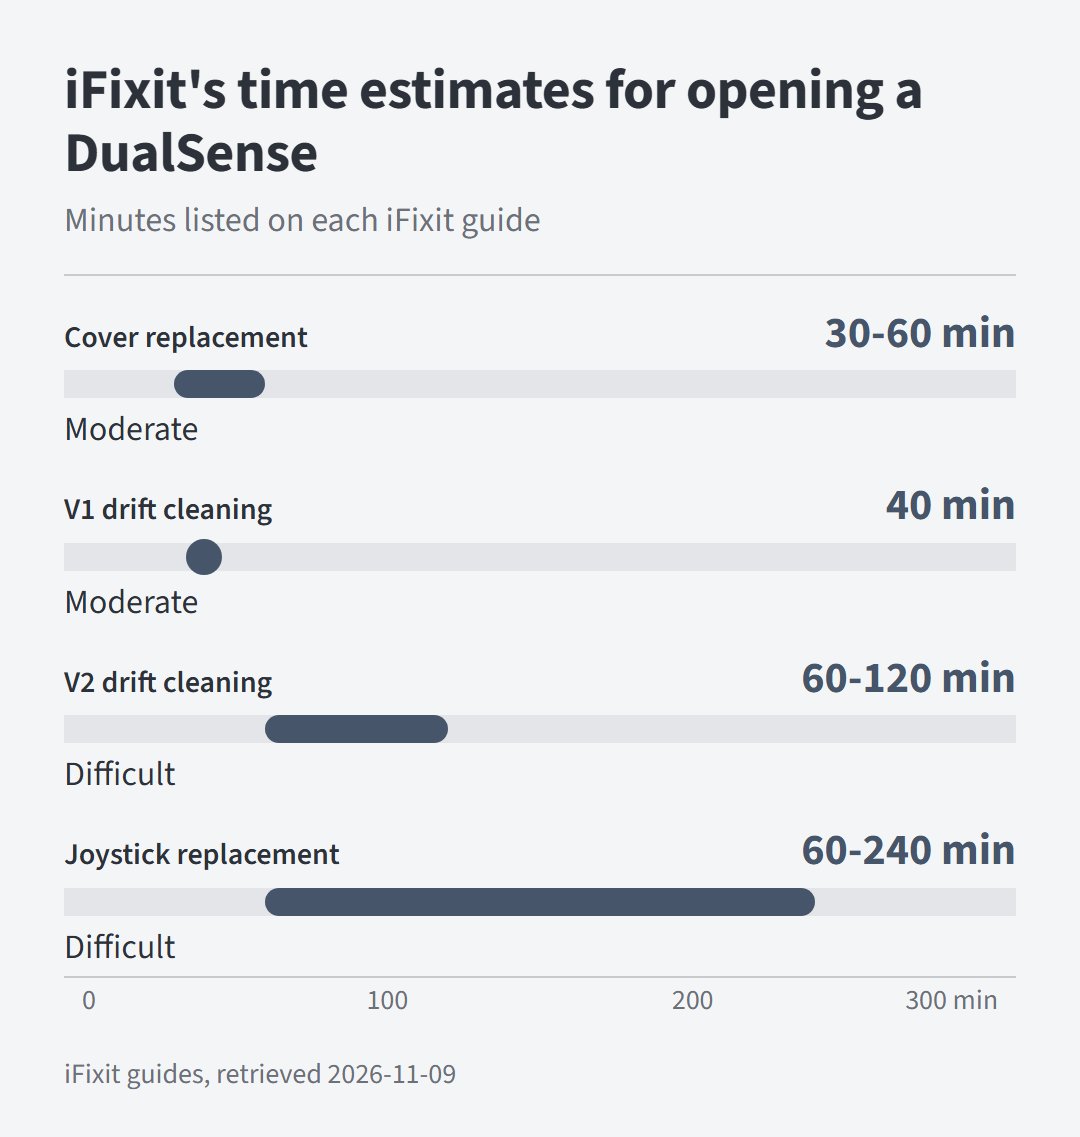
Opening the pad is a project, not a quick fix. iFixit rates its joystick replacement guide Difficult, with soldering involved, and the time estimates on its guides run from half an hour to four hours.
Hall effect sticks, which use magnets and last longer in iFixit’s account, are another replacement option. That is a repair for someone who already solders, and it is no part of the fixes above.
FAQ: PS5 controller drift puzzles, answered
How do I tell if my PS5 has stick drift?
Put the pad down untouched and watch the home screen cursor. If it creeps, test a second pad, then a PC tester. A stick that reads off-center with no touch is drift.
Can a store fix my PS5 controller drift?
The Sony pages cited above send drift reports to PlayStation Repairs and name no retailer for it. A store that takes controllers sets its own terms, so call first and ask how it treats your warranty.
Is there a PS5 controller that doesn’t drift?
None of the sources above promises one. Analog sticks have an inherently limited lifespan, per iFixit, and Sony documents swappable stick modules for the Edge.
Can PS5 controller drift be fixed?
A settings or software cause can be cleared in minutes. A worn stick needs replacement, so drift that survives the home screen test, one reset and one update belongs with PlayStation Repairs.